Creality Ender 3 S1 Pro/CR10 SE E3D Revo Upgrade Guide: Improve Your Prints

Want a faster, more user-friendly 3D printing experience? The E3D Revo Rapid Change hotend is the perfect upgrade for your Creality Ender 3 S1 Pro or CR10 SE. Let's dive in!
Why Upgrade to E3D Revo? A Closer Look
-
Rapid Nozzle Changes: The Game-Changer
- The Revo system eliminates the need for hot tightening of nozzles. This reduces the risk of burns but mainly saves significant time.
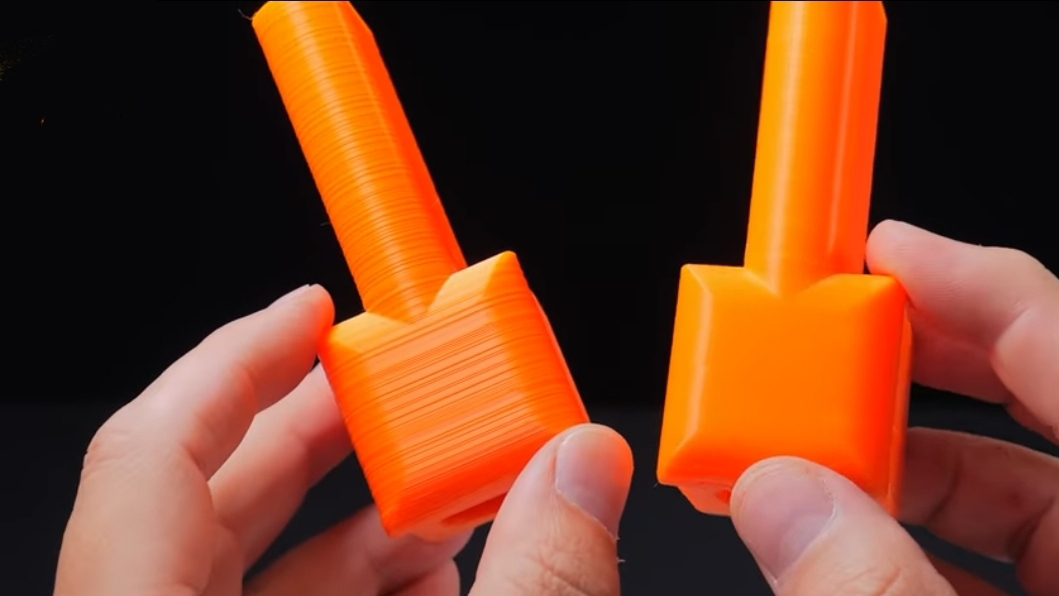
- Experimenting with different nozzle sizes for varying line widths and print speeds becomes effortless. Switch easily between detail work and rapid prototyping.
-
Improved Reliability and Safety
- E3D's Revo HeaterCore features a positive temperature coefficient (PTC). This means that as it gets hotter, its resistance increases. This built-in safety feature helps dramatically reduce the risk of thermal runaway.
- Nozzles are factory-sealed, eliminating potential leaks from poorly tightened nozzles.
-
Precision Engineering for Stunning Prints
- E3D has a longstanding reputation for quality in the 3D printing community. Their hotends are designed and manufactured with utmost precision.
- Expect smoother extrusion, cleaner retractions, and an overall boost to your print quality, particularly on details.
-
Expand Your Materials Horizons
- The Revo system is designed to handle higher temperatures than many stock hotends.
- Experiment with a wider range of filaments including engineering-grade materials like nylon, polycarbonate, and more (check the specs of your chosen Revo version for the max temperature).
-
User-Friendly Ecosystem
- E3D offers a diverse range of Revo nozzles, giving you tons of flexibility.
- The streamlined design and easy nozzle changes make maintenance a breeze.
Is It the Right Upgrade for You?
The E3D Revo is an excellent upgrade if you:
- Value convenience and time savings.
- Often switch between different nozzle sizes.
- Want to experiment with a wider range of materials.
- Prioritize print quality and reliability.
Core Components
- E3D Revo HeaterCore: This is the heart of the Revo system. It includes:
- Integrated heater cartridge and thermistor for precision temperature control and safety.
- Revo HeaterBlock: Machined for optimal thermal performance and nozzle compatibility.
- Revo Nozzle(s): Most kits come with a selection of brass Revo nozzles for standard filaments:
- 0.4mm: The workhorse nozzle size, great for a balance of detail and speed.
- 0.6mm: Ideal for faster printing with thicker layer heights.
- 0.8mm: Perfect for rapid prototyping and large-scale objects.
- 0.25mm: Excellent for high-detail prints with very fine layer heights.
Creality-Specific Parts
- Fan Shroud: Designed for optimal airflow and cooling around the Revo nozzle. Improves print quality, particularly with overhangs and bridging.
- Spacer Bracket: Ensures the probe maintains correct Z-offset after the upgrade.
- Mounting Hardware: May include bolts and brackets specific to your Creality printer model for easy installation.
Important Considerations:
- Kit Variations: Different kits may exist for the Ender 3 S1 Pro vs. CR10 SE, tailored to their specific hotends and cooling setups. Double-check you're getting the right one.
- ObXidian Nozzle Upgrade: Some kits offer the ObXidian nozzle as an upgrade. This copper-alloy nozzle is incredibly wear-resistant for printing abrasive materials like carbon fiber-filled filaments.
- "Six" vs. "Micro" Kits: E3D offers both the Revo Six and the more compact Revo Micro. Check which type the kit includes and if it's suitable for your printer's space constraints.
Beyond the Basics
While the above covers the standard kit contents, retailers sometimes bundle in extras such as:
- Silicone Sock: Helps insulate the heater block and prevent filament buildup.
- Additional Nozzles: Kits might include more specialized nozzles like tungsten carbide for extreme abrasion resistance.
- Tools: Some sellers throw in handy tools to make installation easier.
Detailed Installation with Deeper Insights
1. Preparation
- Safety:
- Always turn off and unplug your printer before working on the hotend to avoid any hazards.
- Ensure the hotend has cooled completely to prevent burns.
- Workspace: Set up a clean, well-lit area with tools like Allen keys, tweezers, and possibly a small wire cutter (depending on your wiring setup).
- Firmware Considerations:
- Most E3D Revo kits are designed as drop-in replacements, meaning you shouldn't need to modify firmware.
- However, double-check the kit's documentation to confirm if any firmware tweaks are recommended for your specific printer.
2. Disconnecting and Removing the Old Hotend
- Cable Management:
- Carefully unplug the heater and thermistor. Label them or take photos to ensure you reconnect them correctly.
- If necessary, cut zip ties or release cable guides carefully.
- Sprite Extruder Removal:
- The four main bolts holding the extruder are easily accessible.
- Some hot glue may be present; gently remove with tweezers or a precision knife.
- Heater Block Disassembly
- Loosen the set screw. It may require gentle force if it's overtightened.
- Carefully slide out the heater block, being mindful of the delicate thermistor and heater wires.
3. Installing the E3D Revo
- Alignment:
- The flat section on the Revo should match the set screw. This ensures proper tightening.
- Wiring:
- Pay attention to polarity when reconnecting the heater and thermistor. Incorrect wiring could damage components.
- Optionally, secure connections with a small dab of hot glue for extra stability.
4. Fan Shroud and Probe Adjustment
- Spacer Necessity:
- If the Revo sits lower than the original hotend, use the spacer to lower the probe accordingly, maintaining proper Z-offset.
- Fan Alignment:
- Some fan shrouds offer slight adjustment. If the airflow seems misaligned with the nozzle, loosen the shroud mounting screws slightly and adjust before retightening.
5. Reassembly and Calibration
- Extruder Tightness:
- Ensure a secure fit but avoid overtightening the extruder mounting bolts, which could damage plastic parts.
- PID Tuning:
- Crucial step: Look up instructions specific to your printer's firmware on how to perform PID tuning. This ensures the new hotend heats and cools correctly.
- Z-Offset Check:
- While the Revo upgrade should maintain your Z-offset, it's vital to double-check it after the installation to ensure proper first-layer adhesion.
Troubleshooting
- Stripped Screws: If encountered, use a small extractor kit, or as a last resort, carefully drill out the stripped screw.
- Heating Issues:
- Ensure all connections are secure.
- Double-check your PID values.
- Extrusion Problems: Verify your extruder steps/mm settings are still correct with the new hotend setup.
Important Notes
-
Safety First:
- Why: Working with a hotend involves, well, hot parts! A reminder about safety emphasizes the potential for burns. Safety glasses add another layer of protection if hot material splashes or a component breaks unexpectedly.
-
PID Tuning:
- Why: Every hotend has slightly different thermal characteristics (how fast it heats up, how well it retains heat). PID tuning tells your printer how to precisely control the new hotend for optimal temperature consistency, vital for print quality.
- Consequence of Skipping: Inconsistent extrusion, stringing, blobs, or even failed prints due to incorrect temperatures.
-
Z-Offset
- Why: The Z-offset is the distance between your nozzle tip and the bed when the probe triggers. Since the Revo system might change this distance slightly, it's essential to check and adjust as needed.
- Consequence of Skipping: First layer too close (leading to print adhesion issues or nozzle damage) or too far (print won't stick at all).
Additional Notes to Consider
- Thermistor Compatibility: While most kits are designed to work seamlessly with your existing thermistor, occasionally, kits may include a different type. Double-check compatibility beforehand to avoid needing to update firmware parameters.
- Firmware Updates: In rare cases or for older printers, a firmware update may be necessary to support the Revo. Consult the kit's documentation and your printer manufacturer's resources.
- Nozzle Tightening: Since the Revo uses a cold-swap nozzle system, there's no need for hot tightening. Remember, finger-tight is enough! Overtightening can damage the Revo heater block.

Comments
Post a Comment